
Update: In 2023, Yoast moved the ability to set a page-specific image to only be possible using its Yoast Professional plugin. If you need to set the social image on a specific page, you will need to purchase the plugin at $100 a year.
WordPress usually does a good job of selecting the correct image from your posts to share on Facebook, Twitter and LinkedIn. But what if you want to set a default image for your entire site or customize the shared image for a specific post? This is very easy using the free WordPress SEO plugin Yoast.
Setting a Default Social Media Image
It’s always a good idea to set a default social media image for pages that don’t have a set featured image or do have an image that doesn’t get pulled in by social media pages because of placement or size. This default image is usually a high-quality version of your companies logo, but could also be a custom image created for this purpose.
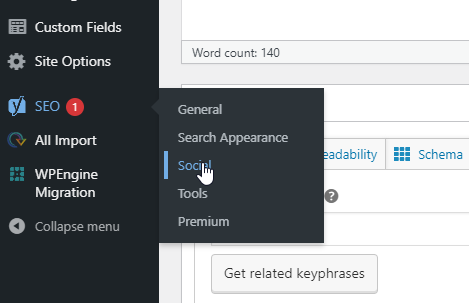
- To get started, hover over the SEO item in your sites left-hand navigation and select Social.
- Click the Facebook tab
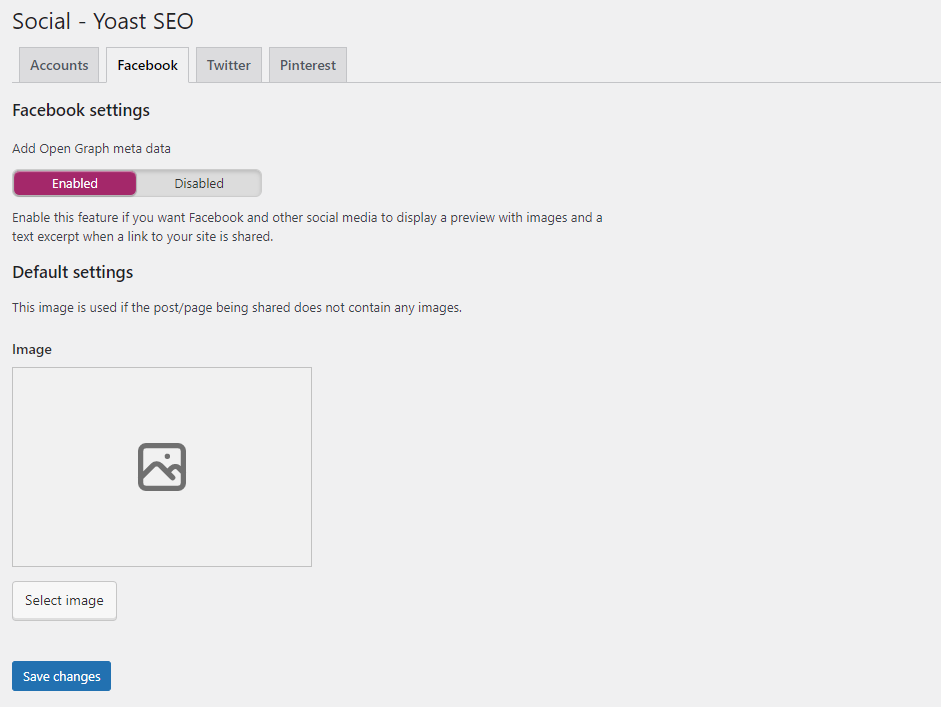
- Make sure the “Add Open Graph” meta data slider is set to Enabled
- Press the Select image button and either upload a new image or select an existing image from your media library
- Press the Save changes button
- Select the Twitter tab
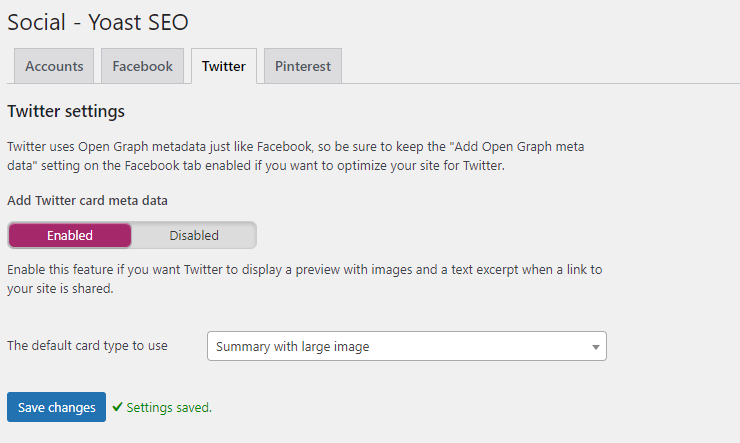
- Make sure that the “Add Twitter card meta data” slider is set to enabled
- Press the Save changes button
Setting a Social Media Image for a Specific Page
Sometimes a post or page either doesn’t have a suitable image for social media sharing or you would like to use a different image on social media than what is on the page itself. The Yoast plugin also makes this very easy.
- Find the Yoast SEO section of the page or post you are editing. It is generally at the bottom of the page.
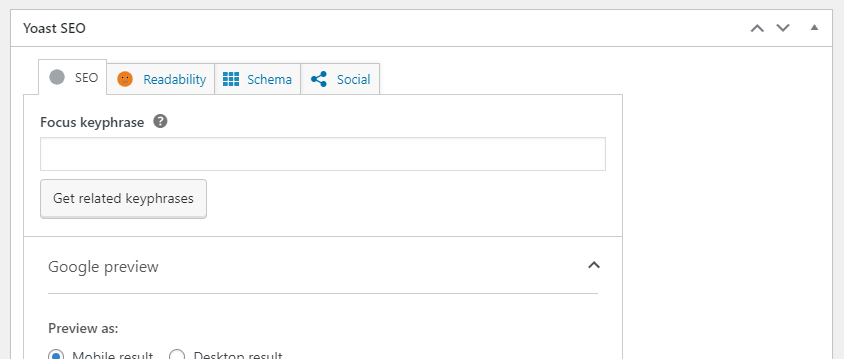
- Select the social tab
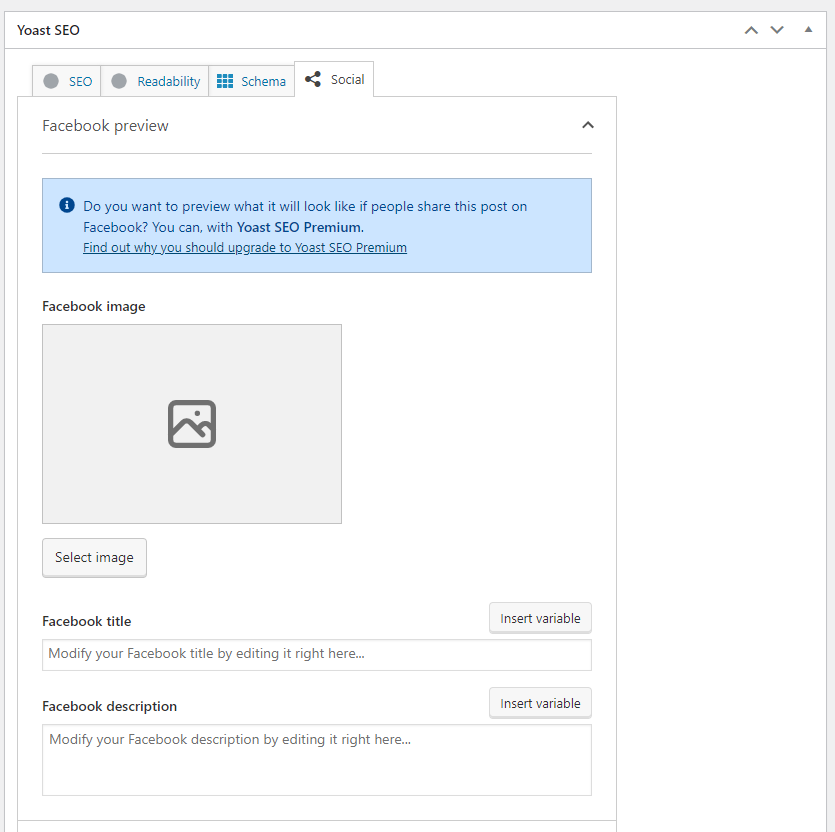
- Press the Select image button and then either upload the custom image you want to use or select an image from your media library.
- (Optional) Customize the Facebook post title and description.
- Scroll down to the twitter section
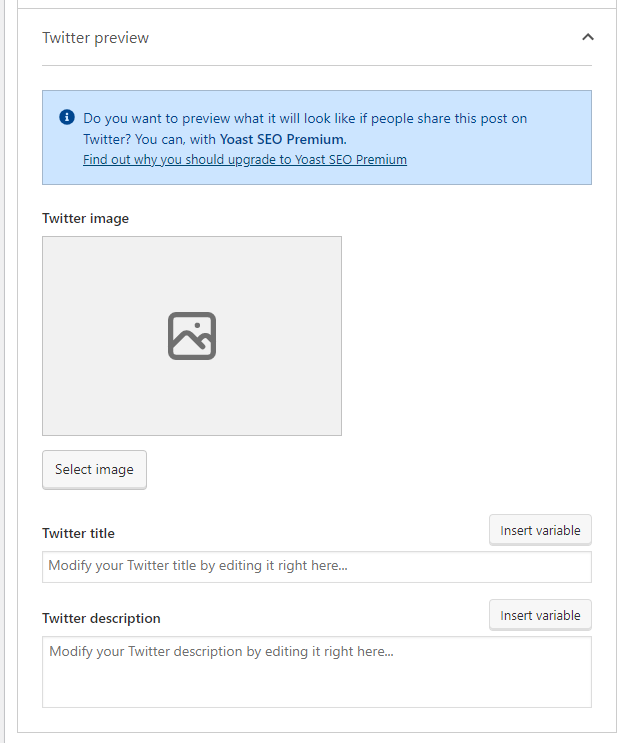
- Press the Select image button and then either upload the custom image you want to use or select an image from your media library.
- (Optional) Customize the Twitter post title and description.
- Publish or update the page or post you are editing.
Troubleshooting Social Media Share Issues
If after setting your default or custom social media image you still don’t see it when you share to Facebook or Twitter, it is possible the old image may be cached.
Clearing the Facebook Cache
To fix this issue for Facebook, you can use the Facebook Sharing Debugger.
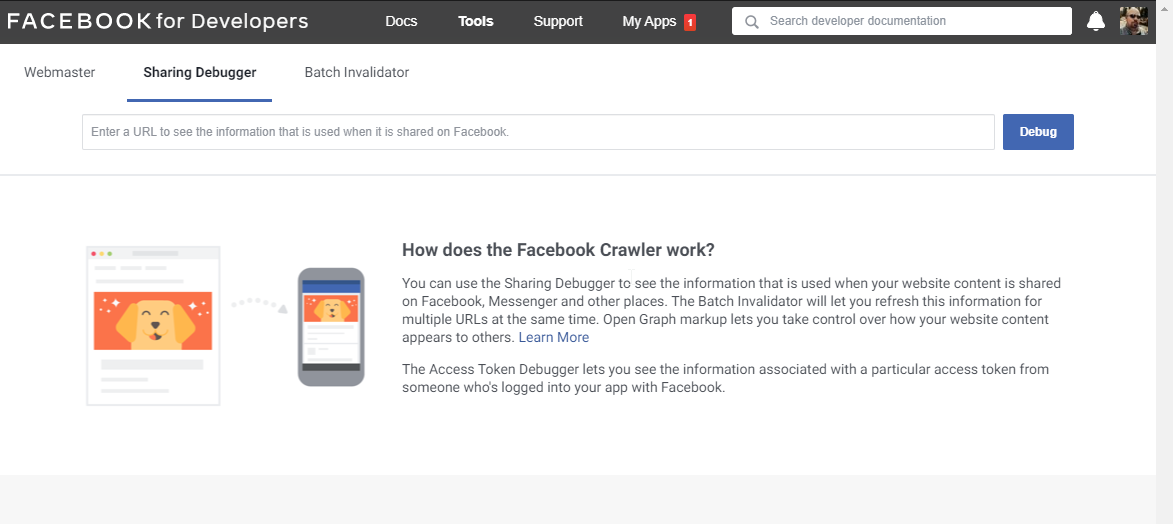
- Enter the URL of the page or post from your site that you just updated in the box at the top of the page.
- If the image on the resulting page is not the image you were expecting, hit the scrape again button and Facebook will try again.
- If you are still not seeing the correct image, you may need to clear your websites cache (or wait 10-15 minutes and try again).
Clearing the Twitter Cache
Although Twitter’s Card Validator page still exists, it no longer allows you to update or view your social images. Twitter has not implemented a new way to do this, instead, you just need to wait for their crawler to visit your page, which will then update it. According to Twitter, it should visit sites in its index about once a week.
Clearing the LinkedIn Cache
LinkedIn’s Post Inspector can be used to clear your social images on LinkedIn. It’s a very simple process where you just paste in your URL and LinkedIn will automatically update the info from your post and show you the results.